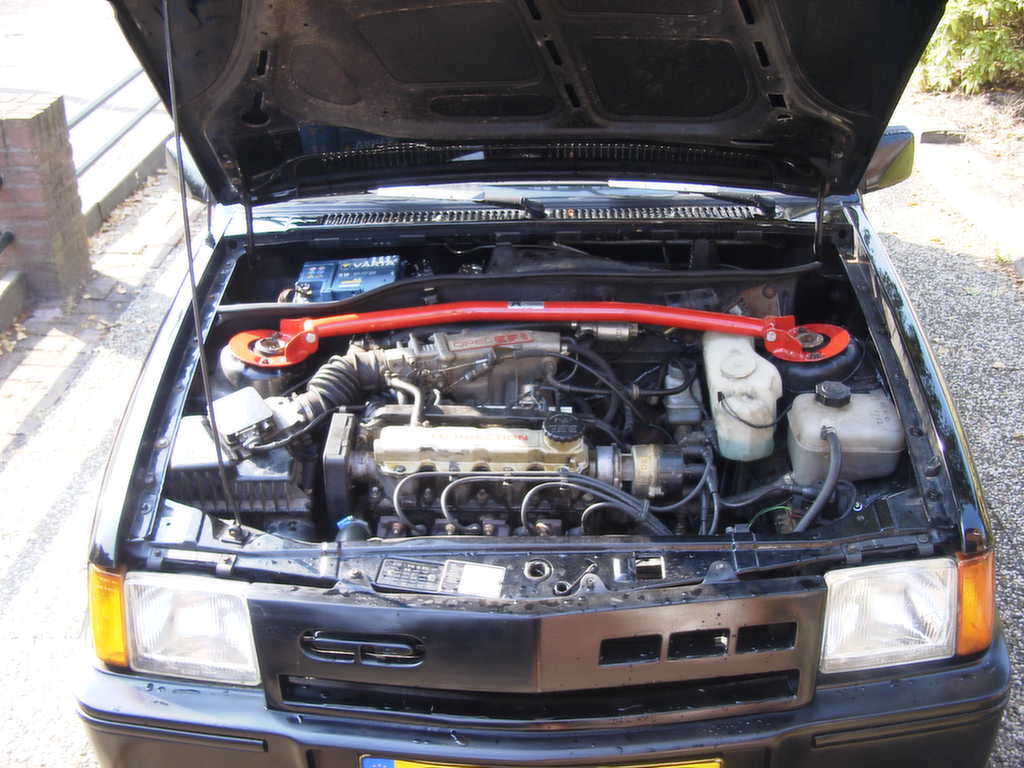
Since not everyone has the possibility to build in a 2.0 engine because of financial reasons or the insurance company can give problems, the conversion to a 1.6 8v is explained. Even though being only a 1.6 it still produces 100hp in standard form.
| What to need for the job? |
– 1.6 8v nova GTE engine* – fueltank from a nova GTE – fuelpump from a nova GTE – complete exhaust system from a nova GTE – coolant system from a nova GTE, (optional, required when original engine was a 1.0 OHV) – bigger brakes from a nova GTE or an astra GTE – front engine bracket, only when the original engine was a 1.0 OHV
*Attention! 2 different types of engines exist, the C16SE and the C16SEI.
The C16SE has been produced till 1990 and the C16SEI from 1990 till end 1992. The exhaust system is different between these engines and the ICU is not interchangeable.
| Coolant system |
We start with draining the coolant system, it is easier to raise the vehicle, especially when the car is lowered. Drain all the coolant into a bucket by disconnecting the lower radiator hose. Remove the front bumper and remove the radiator this will make the installation of the new engine easier. Also remove the coolant reservoir and the windscreen washer bottle, the get a bigger work area.
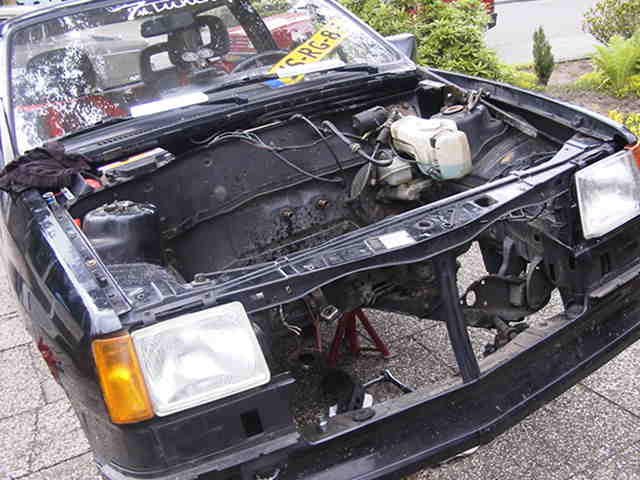
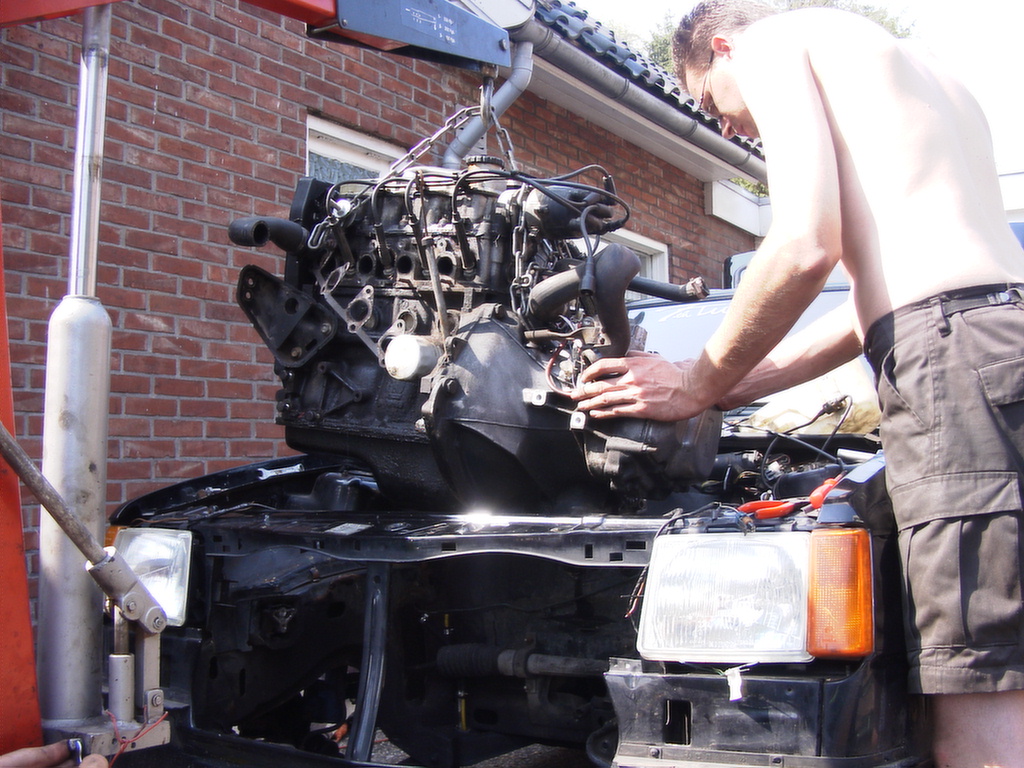
| Removal of the engine |
Raise the vehicle and put it on 2 axle stands and on the handbrake. This is for your own safety. Disconnect the fuel supply and return lines, throttle cable, vacuum line for the brake booster and the clutch cable.
Don’t forget to disconnect all the wiring like: reverse sensor, engine temp sensor, oil pressure, starter, alternator, ground strap, etc.
The shifting mechanism needs to be disconnected and the front engine pulley needs to be removed for easier removal of the engine.
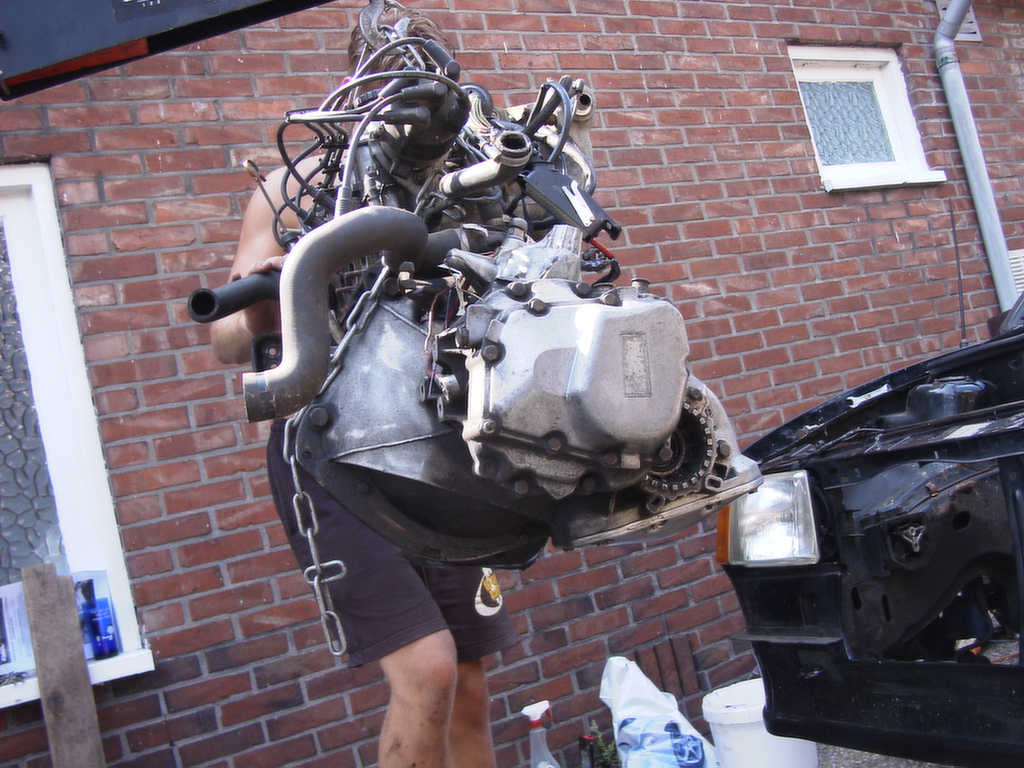
Remove the complete exhaust system, since you need to place a new fuel tank anyway. When everything is disconnected from the engine connect a chain to the engine lifting mounts and lift the engine under a little tension in the engine hoist. Remove the axles from the transmission but before taking then out of the transmission you need to remove the ball joint from the steering knuckle. The axles can be removed from the transmission with a tire lever.
Remove the bolts from the engine support brackets en remove the brackets. The engine is now completely lose and can be hoisted out. Do this with care!
| Preparing the new engine |
The best thing to do is to replace the timing belt. The C16SEI also has a tension roller that needs to be replaced with the belt. The C16SE doesn’t have the roller. When replacing the belt also replace the rubber ring from the water pump since the belt has its ground tension from the water pump. Replace the oil pump gasket and the oil pan if necessary.
Make sure all wiring is on the engine and is taped together not to be in the way when putting the engine in the vehicle.
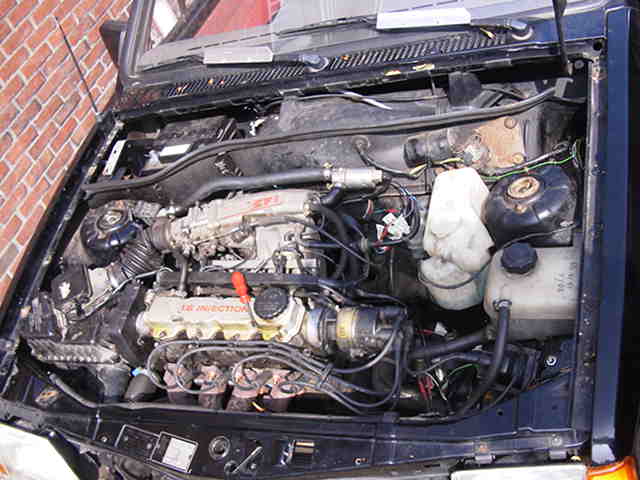
| Mounting the new engine |
Hoist up the engine.

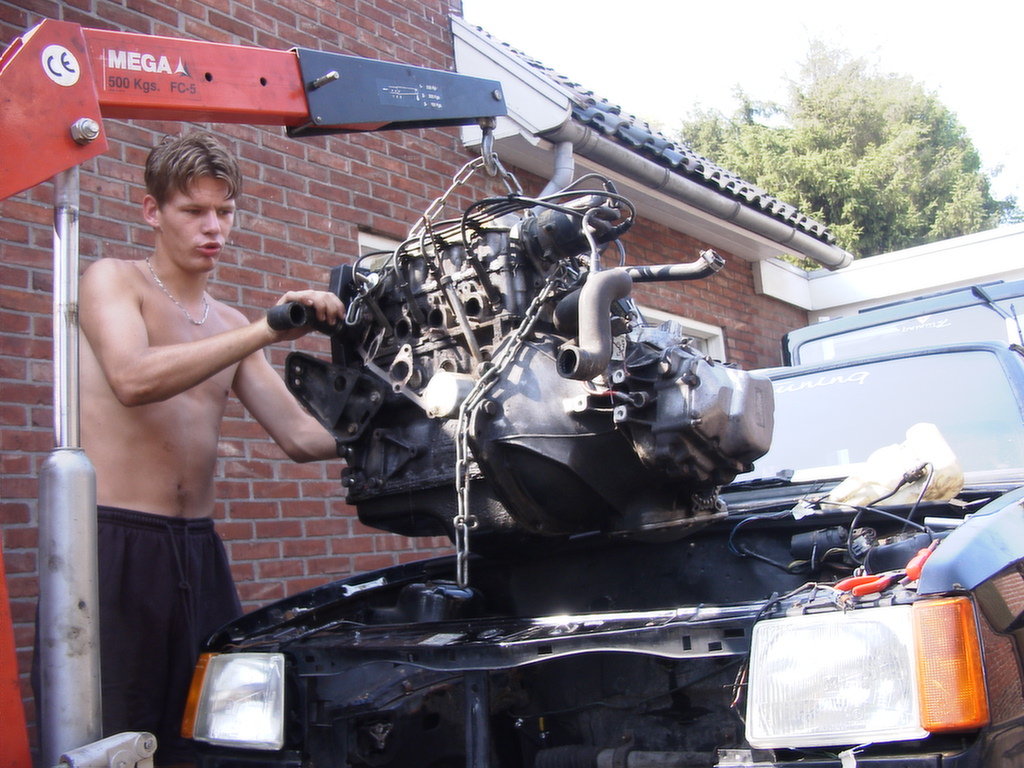
Don’t rush it and do this preferably with 2 persons.
When the engine is in the correct position mount the front engine and transmission bracket.
Mount the rear one as last since this one can be brought into position with a jack. Torque al bolts to specifications. Now the engine is in position and all wiring and hoses can be reconnected. Press the axles back into the transmission, be sure to hear a “klick”, don’t damage the boot from the CV joints. Connect all coolant hoses. Connect all wiring.
– Black is positive when “key on”. – Brown is ground. – Green is for coil to tachometer. – Red/bleu (bigger diameter) is the positive one for the electrical fuel pump (when starting with a carburetted engine this wire is not in the vehicle). – Bleu/green is oil pressure. – Black/yellow is oil level. – Red/black is starter relay. – Bleu/red is for positive when “key on”, this one is for the ICU.
Mount the air filter and the exhaust manifold, not the complete exhaust since the fueltank needs to be replaced.
| Fuel tank |
The best way to go is to use the nova GTE fuel tank and not the one from the standard nova. The fuel feed 12mm and return 8mm are bigger compared to the standard 8mm and 6mm tank. The fuel feed is also at a different location, in the rear together with the tank sender unit and not in the front. This sender unit can’t be mounted in the original tank.
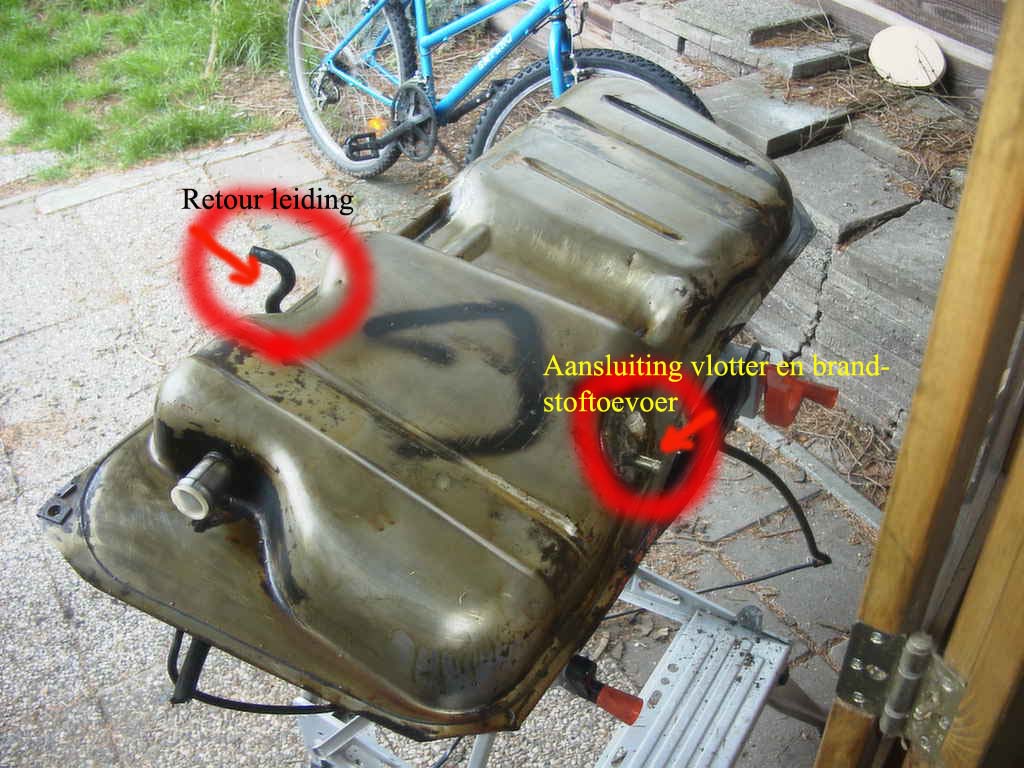
Get a new piece of flexible fuel feed line 12mm since this is always dried out. You will also need new 8mm line as well for the pump to the filter to the damper to the plastic line. Be sure to mount a new fuel filter. The plastic return line is 6mm, change this to 8mm, use the feed line from a car from a junkyard. This will give you 2 times 8mm.
If your original car was a carburetted engine pull a new wire from the fuel pump relay to the fuel pump. Use 2.5 square minimums. The wide connector on the fuel pump is the positive, the minus can be mounted to the body of the vehicle, be sure to have a good ground.
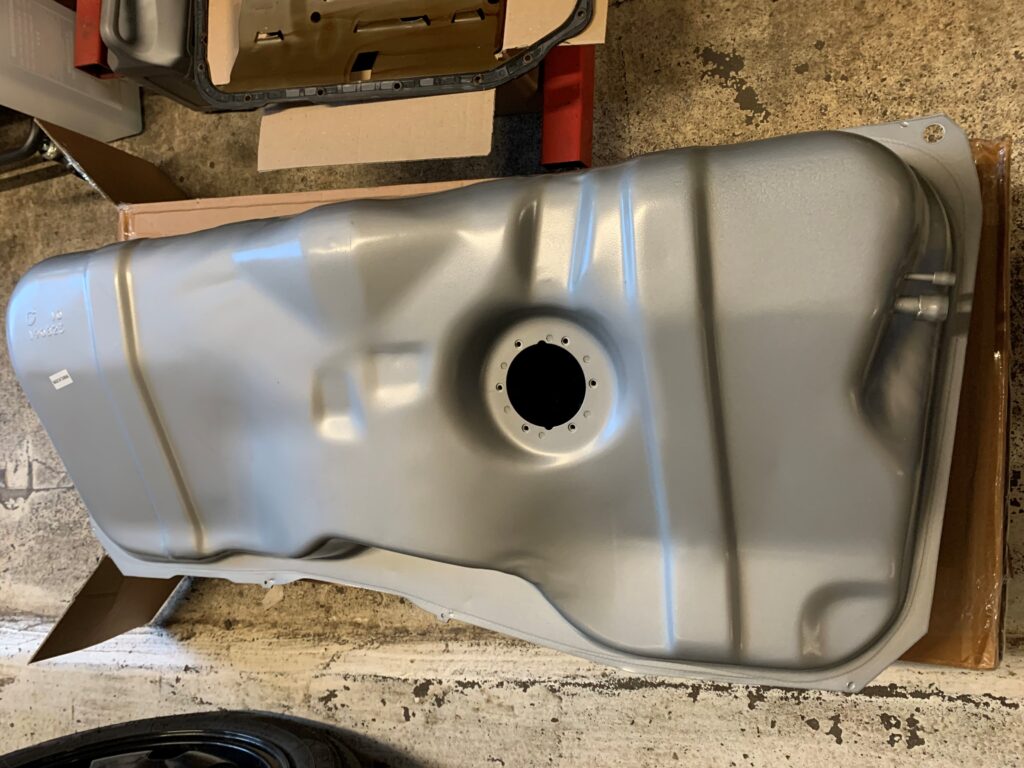
Another option is to use the tank of a later type Nova (A3). These are already equipped with an internal fuel pump (for the c12nz and c14nz engines, among others).
You need to replace the pump with a pump of a multipoint motor. For this you can use the pump of an Astra F GSI.
These fuel tanks can also be purchased new. Please note that the pump and pump holder are not present.
You still have to purchase it separately.
Mount the fuel pump and the right hoses. Connect the fuel hoses feed and return to the engine.
| Brakes |
It is strongly recommended to upgrade your standard brakes. Remove the old front brake callipers and discs. Mount the bigger brakes and bleed the system.
Attention!
When using brakes from a nova GTE use 13” or bigger rims.
When using Astra 2 L brakes use 14” or bigger rims, even though the original 3 spoke GTE 14” rims don’t fit without using 5 mm spacers* per side.
*Check your local laws when using spacers, don’t use them bigger then necessary since they can produce a negative effect on the steering and cause increased wear on bearings and ball joints.
| Last bits and pieces |
At this point we can mount the exhaust system, this is a nice opportunity to mount a “sport” exhaust system. Adjust the gear linkage, this is done easiest with 2 persons. Before any start attempt, change the oil and the oil filter, new sparkplugs are a good idea as well. If necessary replace the rotor, distributor cap and sparkplug wires.
Refill the coolant system, remove the temperature sensor and screw it back in when the coolant is flowing out when filling the system. Now fill the system till the requested level. This way no air is in the cooling system.
When everything is checked, disconnect the main lead from the ignition coil to the distributor cap and start the engine to get the correct oil pressure (this works even better without the sparkplug is the engine, bet be sure n dirt can fall in the engine). After getting the oil pressure the main lead can be connected and the first start up can be made. Check for any leaking fluids, the easiest is to let the engine run on the axle stands, this way the gears can be checked easily as well and it is easier to readjust when needed.
If all ok, time fore the first test run!! Have fun and drive carefully.